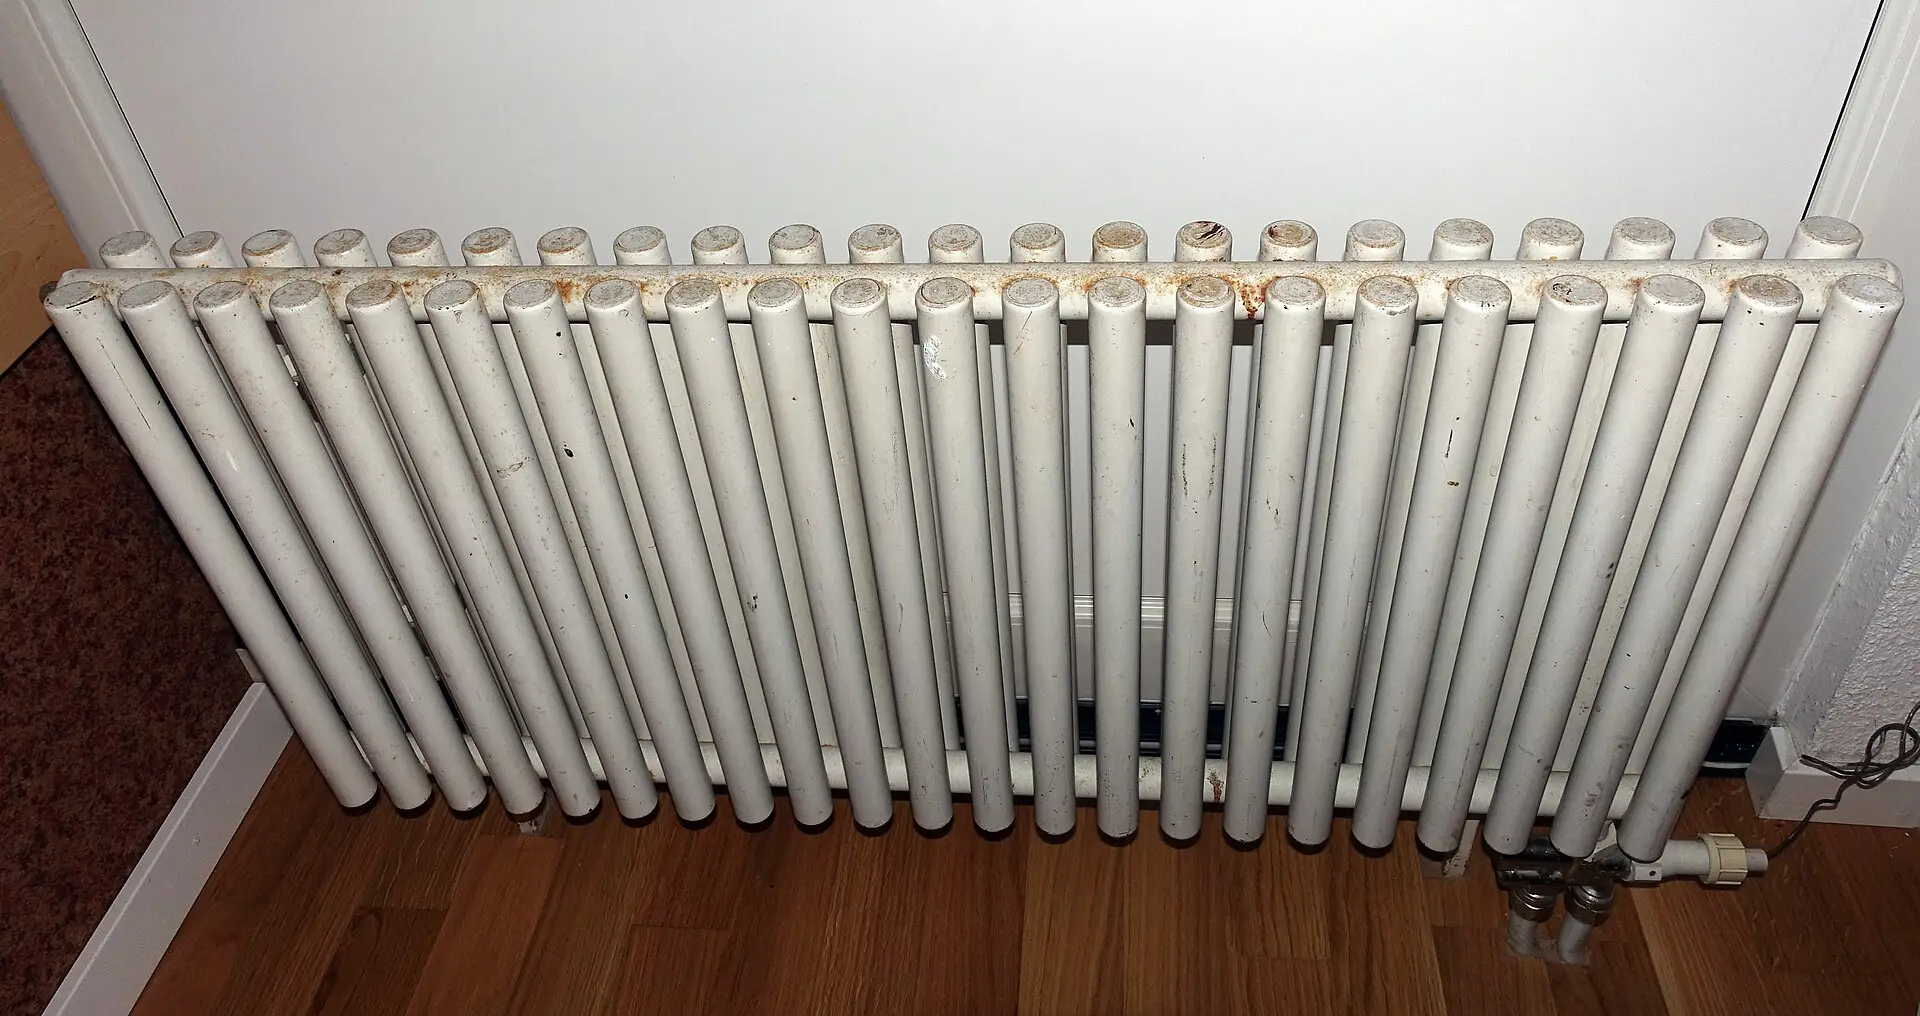
Radiators and electric baseboards on exterior walls do two jobs at once: they warm the room you live in, and they warm the cold wall behind them. That second job is mostly waste — masonry, plaster, or thin cavity walls soak radiant heat that never reaches the sofa. Radiator heat reflectors (foil-faced foam panels or double-bubble reflective insulation cut and placed behind the heater) are a cheap, reversible way to send more of that radiant energy back into the room. Figure out which radiators and baseboards sit on outside walls, then choose a Reflectix-style roll or a purpose-made panel and install it with proper clearance.
Redirect radiant heat, don’t invent R-miracles
Heat reflectors help when:
- A hydronic or steam radiator hangs on an exterior wall (or under a window on that wall) with a few inches of gap behind the fins.
- Electric baseboard or wall convectors run along an exterior wall and the plaster or drywall behind them runs noticeably warmer than the rest of the room.
- You’ve already done the cheap draft work, so redirected heat isn’t immediately leaking out the sash.
- You can cut a clean foil face that looks toward the heater without touching hot metal or blocking valves.
Reflectors do less when:
- The heater is on an interior partition between heated rooms — there’s little “cold sink” to fight.
- The room is dominated by infiltration (door undercuts, failed weatherstrip, open chimney) — fix those first.
- You expect a package R-value printed for attic or duct use to apply unchanged behind a radiator.
- Furniture, long drapes, or stored boxes already block the heater’s face into the room (clear the front first).
- You tape foil over electric elements or stuff it into a gas fireplace / combustion appliance area.
Lab or marketing claims about “up to X%” depend on wall U-factor, outdoor temperature, heater type, coverage area, and whether an air gap exists. Your rates and habits decide the bill. Treat reflectors as a small materials upgrade that improves comfort and reduces wall-wasted radiant heat — not as proof you can skip insulation or a working thermostat.
Also note: Reflectix and similar reflective products advertise R-values that are application-dependent. Behind a radiator, shop for a durable foil face + thin foam/bubble core you can cut to fit — not for attic-stack math.
Check your home before you buy
Do this once with the heat off or cooled enough to work safely behind the unit:
- List every radiator or baseboard on an exterior wall — bedrooms facing north, living rooms under bay windows, kitchens on the cold side of the house. Skip interior-partition units for this project. Photograph each so you remember pipe locations and bracket spacing.
- Hydronic / steam radiator vs electric baseboard vs other — cast-iron or panel radiators usually have a clear gap to the wall; electric baseboard often sits tighter with a factory back panel. Reflectors still help on exterior-wall electric runs when you can slide or mount a strip behind the chassis without touching elements. Fan-forced wall heaters and open-coil units need stricter clearance reading — when unsure, skip DIY foil and call an electrician or HVAC tech.
- Confirm it is an exterior wall — knock/test: exterior walls are colder in winter, often thicker, and sit under eaves or against brick. If both sides of the wall are heated rooms, a reflector is low priority.
- Measure the gap behind the heater — note depth from wall to fins/chassis, width of the unit, and height you can cover without blocking valves, bleeders, TRVs, electrical junction covers, or airflow slots. Typical DIY targets cover the wall area shadowed by the heater, not the whole room.
- Measure width × height for material math — for Reflectix, a 24″-wide roll is the common US size; run it horizontally or vertically and seam with foil tape. For a dedicated ~100×70 cm panel, confirm one sheet covers one radiator or plan to butt two. Add 10–15% for mistakes and cutouts around brackets.
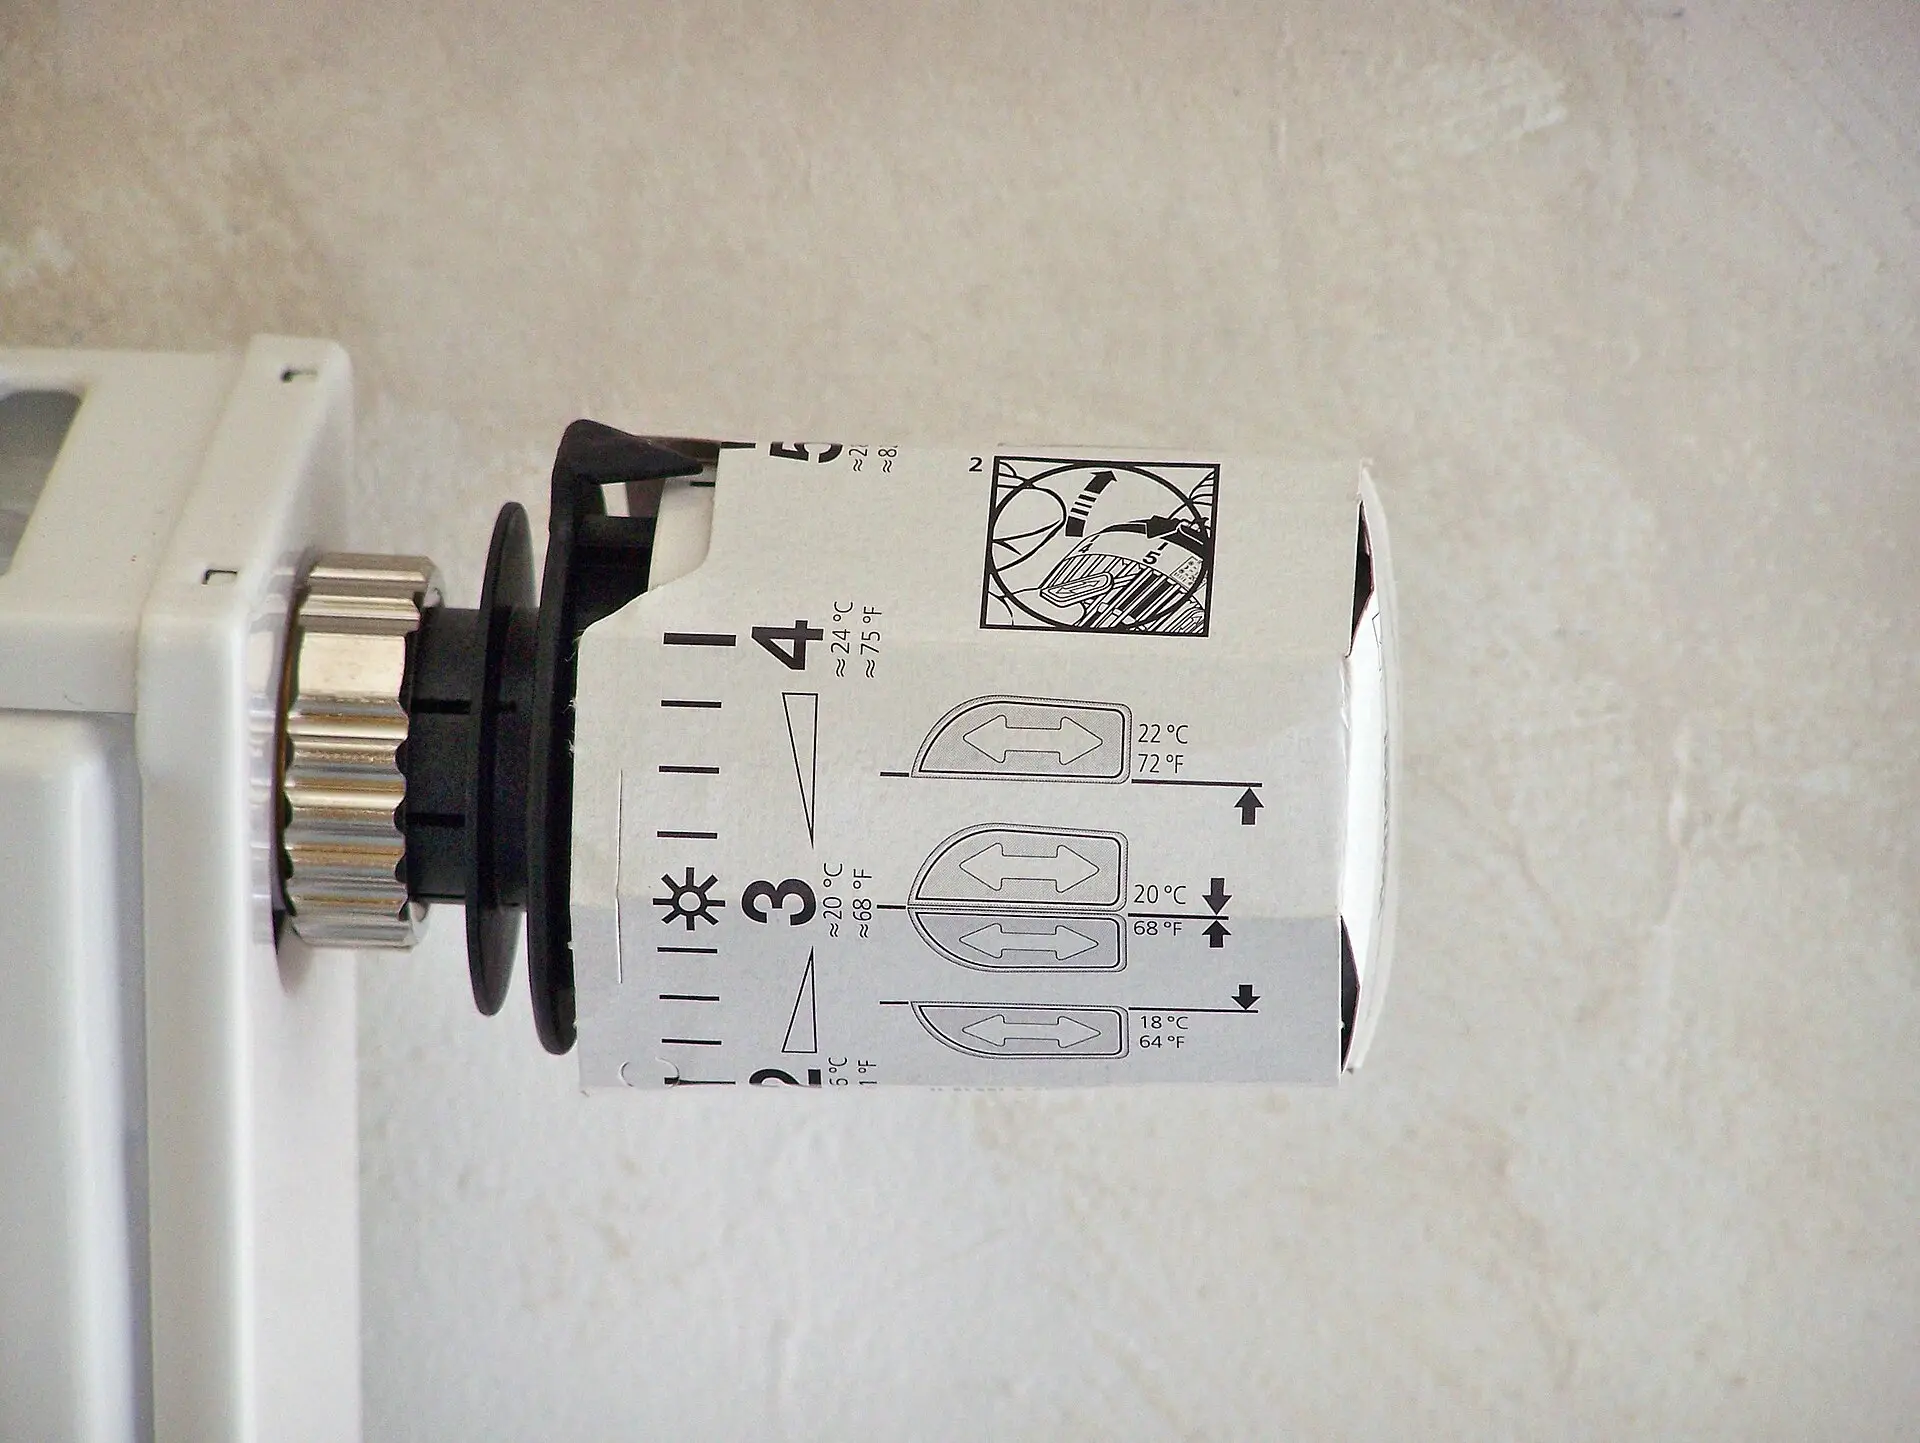
- Check heat source and clearances — electric: kill the correct breaker before removing covers; read the heater’s clearance labels. Hydronic/steam: cool the system or isolate the zone if you can; protect finished floors from drips when you move the unit slightly. Never block combustion air for boilers, furnaces, or water heaters while “sealing” a mechanical room.
- Decide roll vs dedicated panel vs seal-first instead — multiple units or long baseboard → Reflectix 25′ roll. One showcase radiator and you want a pre-sized foam+foil sheet → dedicated panel. Still have screaming door drafts → weatherstripping and window film before Amazon.
- Renters and adhesive rules — check the lease. Prefer tuck-behind, light removable tape, or painter’s-tape test patches over aggressive construction adhesive on landlord paint. Owners: foil HVAC tape on seams is fine; avoid cloth duct tape that dries brittle.
If electric baseboard comfort is terrible because the thermostat chatters or never sets back, fix controls with a proper line-voltage thermostat — a reflector does not replace a wrong Nest on 240V wiring.
What to do first
When radiator / baseboard reflectors is worth it
- Exterior-wall radiators or baseboards are your main room heat and the wall behind them runs hot to the touch while the room still feels chilly.
- Old solid masonry or poorly insulated cavity walls sit directly behind the heater (common in pre-1980 US housing and many brick rows).
- You’ve already sealed the obvious drafts and still want a cheap next step before bigger insulation work.
- Several units need coverage — one Reflectix BP24025-class roll often beats buying many small imported panels.
- Electric resistance heat is expensive per kWh in your rate plan — every bit of heat kept in the room helps, alongside setbacks and sealing.
What not to do
- Do not cover glowing electric elements, open coils, or fan outlets with foil or foam.
- Do not block radiator valves, bleeders, TRVs, pipe unions, or electrical covers — leave service access.
- Do not stuff reflectors into combustion appliance zones or block boiler / furnace make-up air.
- Do not treat marketed Reflectix R-values as guaranteed wall R-adders behind a radiator.
- Do not skip draft sealing and expect foil alone to fix a leaky room.
- Do not buy sketchy no-name “Reflectix-named” marketplace rolls with week-long overseas shipping when a verified US listing exists.
- Do not use cloth duct tape as the long-term seam — use foil HVAC tape (Nashua 322 class).
- Do not invent dollar or percent savings for a social post — climate and walls decide outcomes.
- Renters: do not permanently glue panels without permission.
Which one should you buy?
| Your situation | Better path | Why |
|---|---|---|
| Several exterior-wall radiators or long baseboard runs | Reflectix BP24025 24″×25′ double-bubble | Best $/coverage; cut-to-fit |
| One or two small jobs / try-before-whole-house | Reflectix 24″×10′ roll (BP24010 class) | Less leftover; same product family |
| Single European-style panel radiator, want neat sheet | tesamoll-class foam+foil panel (~100×70 cm) | Purpose-built; adhesive often separate; higher $/area |
| Seams, patches, and foil joints | Nashua 322 foil HVAC tape | Seals reflective seams; not cloth duct tape |
| Still have door / window drafts | Weatherstripping + window film first | Reflectors don’t fix infiltration |
| Electric baseboard on wrong Nest / bad dial | Line-voltage thermostat guide | Controls family first; then reflector on exterior runs |
| Heater on interior wall only | Skip reflectors; seal & setpoints | Little cold-wall sink |
| Can’t safely access behind steam piping / unclear electric clearances | Hire plumber / electrician | Safety beats a $30 foil save |
| Want daily glass control after sealing | Thermal curtains | Different layer — works with reflectors, not instead of clearance rules |
Sizes and specs
| Type | What it is | Fit / use notes |
|---|---|---|
| Double-bubble Reflectix (24″ rolls) | Foil / bubble / foil reflective insulation | Cut panels slightly smaller than the heater’s wall footprint; foil face toward the room/heater; maintain air gap where the product guidance calls for one |
| Dedicated radiator reflector panel | Foam core + aluminium face (~100×70 cm class) | Trim for brackets/pipes; fix with double-sided tape or tacks per instructions — adhesive often not in the box |
| Foil HVAC tape | Aluminum tape for seams | Seal butts and small tears; clean dust off foil first |
| Not this job | Attic radiant barrier stapled to rafters, bubble wrap on windows, roof foil | Different applications; don’t conflate shopping tabs |
When in doubt, measure one radiator, cut one test panel from a 10′ roll, live with it a week, then buy the 25′ roll for the rest of the house.
Our picks
We earn a commission if you buy through these Amazon links, at no extra cost to you. Check size and fit on the listing before you order.
Best primary rollReflectix BP24025 24″ × 25′
Best for: Covering multiple exterior-wall radiators or long stretches of electric baseboard with one verified US double-bubble roll.
Watch-outs: Application-dependent R-value marketing — buy for reflective face + cuttable bubble core, not attic math. Keep off electric elements. You’ll want foil tape for seams.
- Reflectix BP24025 24-Inch by 25-Feet Bubble Pack Insulation Check price on Amazon
Best small-job rollReflectix 24″ × 10′ (BP24010 class)
Best for: One or two radiators, a short baseboard run, or a try-before-you-commit test panel.
Watch-outs: Same clearance and seam rules as the 25′ roll. Confirm the listing is the Reflectix BP24010-class product (ASIN below), not a random overseas “reflective bubble” clone.
- Reflectix Reflective Radiant Barrier Insulation Roll 24″ × 10′ Check price on Amazon
Best dedicated radiator paneltesamoll / tesa foam+foil sheet
Best for: A single classic wall radiator where you want a pre-sized insulating foam sheet with an aluminium face instead of cutting a long roll.
Watch-outs: Roughly 100 cm × 70 cm — measure your radiator footprint. Adhesive is often not included; plan double-sided tape or tacks. Higher cost per square foot than Reflectix. Shipping/seller mix can vary — check stock and delivery before relying on it for a hard freeze weekend.
- tesamoll Radiator Heat Reflector Panel, ~100 cm × 70 cm, aluminium grey Check price on Amazon
Best seam tapeNashua 322 HVAC foil tape
Best for: Butting Reflectix panels, patching small cuts, and keeping foil edges from peeling behind a warm radiator.
Watch-outs: Foil tape sticks best on clean, dry foil — wipe dust. Not a substitute for mechanical clearance from electric heaters. Cloth “duct tape” is the wrong product for long-term heat exposure.
- Nashua 322 HVAC Multipurpose Foil Tape (48 mm × ~9–10 m class) Check price on Amazon
Troubleshooting
| Symptom | Likely cause | What to try |
|---|---|---|
| Panel won’t stay up | Dusty wall; wrong tape; no mechanical tuck | Clean wall; foil or removable mounting tape at corners; tuck behind brackets |
| Foil looks dull / no comfort change | Dirty foil; panel facing wrong way; heater on interior wall | Wipe foil; face shiny side toward heater; move effort to exterior walls |
| Electric heater smells or trips | Material too close to elements; blocked airflow | Power off; pull material to manufacturer clearance; never cover coils |
| Steam/hydronic drip after moving unit | Disturbed union or valve packing | Cool system; tighten/repack per plumber guidance; don’t force pipes |
| Condensation / musty wall | Foil trapping moisture in a damp wall | Fix leaks/condensation source; don’t seal a wet wall behind foil |
| Seams peel in a week | Cloth duct tape; oily foil | Switch to Nashua-class foil tape; clean and re-seal |
| Room still freezing | Drafts dominate; undersized heat; bad thermostat | Seal first; check weatherstripping / window film; fix controls |
| Renter paint damage | Aggressive adhesive | Switch to tuck-behind / removable methods; test a corner |
What this won’t fix
- A wide-open envelope — door gaps, single-pane wash, attic bypasses (checklist).
- Wrong thermostat family on electric baseboard (line-voltage guide).
- Guaranteed R-value or bill cuts from a package claim.
- Heat blocked by furniture or floor-length drapes piled on the heater.
- A failing boiler, air-bound radiator, or dead electric element.
- Combustion safety or carbon-monoxide problems — detectors and pro service, not foil.
- Whole-wall insulation upgrades you still need for a gut remodel — this is a behind-heater patch, not cavity foam.
After you set it up
- Confirm every covered heater is on an exterior wall you intended to treat.
- Recheck clearances on electric units after the first full heat cycle (warm panel OK; hot-to-scorching contact not OK).
- Open/close radiator valves and bleeders once to prove you didn’t bury them.
- Keep 3 ft clearance in front of electric baseboards; don’t drape clothes on radiators.
- Pair with nightly thermal curtains on the same cold glass — open south glass on sunny winter days when it helps.
- Log comfort for a week at the same thermostat setting — not as a guaranteed savings proof, as a reality check.
- Store leftover Reflectix flat or loosely rolled for the next cold room; keep foil tape in the tote.
- Schedule pro help for inaccessible steam piping, aluminum wiring quirks, or any heater that smells wrong after install.
Habits that help
- Seal first, reflect second, then set back setpoints you can live with.
- Dust foil faces at the start of each heating season — dirty foil reflects less.
- Don’t run portable heaters against the same wall foil as a “more is more” stack on one circuit.
- On mild days, lower setpoints; let the reflector reduce wall loss when the system does run.
- When you renovate, ask about exterior continuous insulation — behind-radiator foil is a bridge, not the destination.
FAQ
Do radiator heat reflectors actually lower my heating bill?
They can help when a radiator or electric baseboard sits on a cold exterior wall and a lot of radiant heat is absorbed by that wall instead of the room. The foil face reflects radiant energy back inward; a foam or bubble layer adds a thin conductive break. Results depend on wall construction, how cold it is outside, how much of the heater faces the wall, and whether you already sealed drafts. We do not guarantee a percentage or dollar cut — treat this as a small, cheap comfort and waste-reduction upgrade after weatherization, not a furnace replacement.
Reflectix roll or a dedicated radiator reflector panel — which should I buy?
Most US DIY homes with several exterior-wall radiators or long baseboard runs do better with a verified Reflectix double-bubble roll (24″ × 25′ primary, or 24″ × 10′ for a small job) cut to fit behind each unit. Dedicated foam+foil panels (tesamoll-class ~100×70 cm) are purpose-shaped for classic wall radiators but cost more per square foot and often need separate adhesive. Buy the dedicated panel when you want one neat sheet behind a single European-style radiator and you accept the higher $/area; buy Reflectix when you need coverage for multiple units or electric baseboard lengths.
Can I put Reflectix behind electric baseboard heaters?
Often yes on the wall behind the heater — not draped over the fins or touching glowing elements. Keep manufacturer clearances, leave service access, and never stuff foil against open coils or fan outlets. Pair with the right line-voltage thermostat if controls are the real problem (Nest/Ecobee are 24V — wrong family). If the baseboard is on an interior partition, reflectors do little; prioritize exterior-wall units.
Will Reflectix give me the R-value printed on the package behind a radiator?
Not in a simple “add R-whatever to the wall” way. Manufacturer and marketing R-values for reflective insulation are highly application-dependent (air gaps, orientation, whether the foil faces a sealed cavity). Behind a radiator you mainly want a clean reflective face toward the heater plus a thin foam/bubble spacer so the wall stops soaking radiant heat. Do not shop by a headline R-number alone, and do not invent attic-style performance for a cut panel taped to drywall.
Is it safe to install radiator reflector foil myself?
Usually, if you cut power or cool hydronic systems first, keep material off hot elements, maintain clearances listed for electric heaters, and do not block combustion air, valves, or bleeders. Use foil HVAC tape for seams — not cloth duct tape that dries out. Renters should check the lease before adhesive on painted walls; removable tape or tuck-behind installs without glue are kinder. Hire a pro if you cannot safely access behind steam/hydronic piping or if electric clearances are unclear.
Should I seal drafts before buying radiator reflectors?
Yes. Reflectors do not fix door gaps, leaky sash, or an open attic stair. Do weatherstripping, window film, and obvious air sealing first so the heat you redirect into the room actually stays there. Then add reflectors on exterior-wall radiators or baseboards that still feel like they cook the plaster more than the air.
Related reading
- Electric baseboard / line-voltage thermostats — 120/240V controls when Nest is the wrong family
- Best weatherstripping & door draft stoppers — seal leaks before redirecting heat
- Window insulation kits for winter drafts — cold-glass rooms sharing exterior walls with radiators
- Thermal & blackout curtains for energy savings — daily layer on the same cold windows
- Cellular / honeycomb shades for winter — shades that stay above the radiator instead of draping over it
- Air sealing with caulk, foam & outlet gaskets — penetrations and baseboard gaps reflectors don’t fix
- Oil-filled space heaters / zone heating — portable zone heat with clearance rules
- Register booster fans for cold rooms — forced-air rooms with weak supplies (different heat type than radiators)
- Lower your electric bill: priority checklist — this-month order of operations
- Start Here — full suggested reading order
Bottom line
If your radiators or electric baseboards sit on exterior walls, a cut-to-fit foil/foam or double-bubble reflector is a cheap way to stop dumping radiant heat into the cold wall — after you seal drafts, and without inventing R-value or dollar promises. Prefer a verified Reflectix roll for coverage; use a dedicated panel when one neat sheet fits the job; seam with foil HVAC tape; keep material off electric elements and clear of valves. Amazon links may earn a commission as an Associate (disclosure). For controls on line-voltage baseboard, see the thermostat guide; for the broader order of operations, see Start Here or the priority checklist.
Some links on this page go to Amazon, and we earn a commission if you buy, at no extra cost to you. Prices and savings vary by home and utility rate. More in our disclosure.