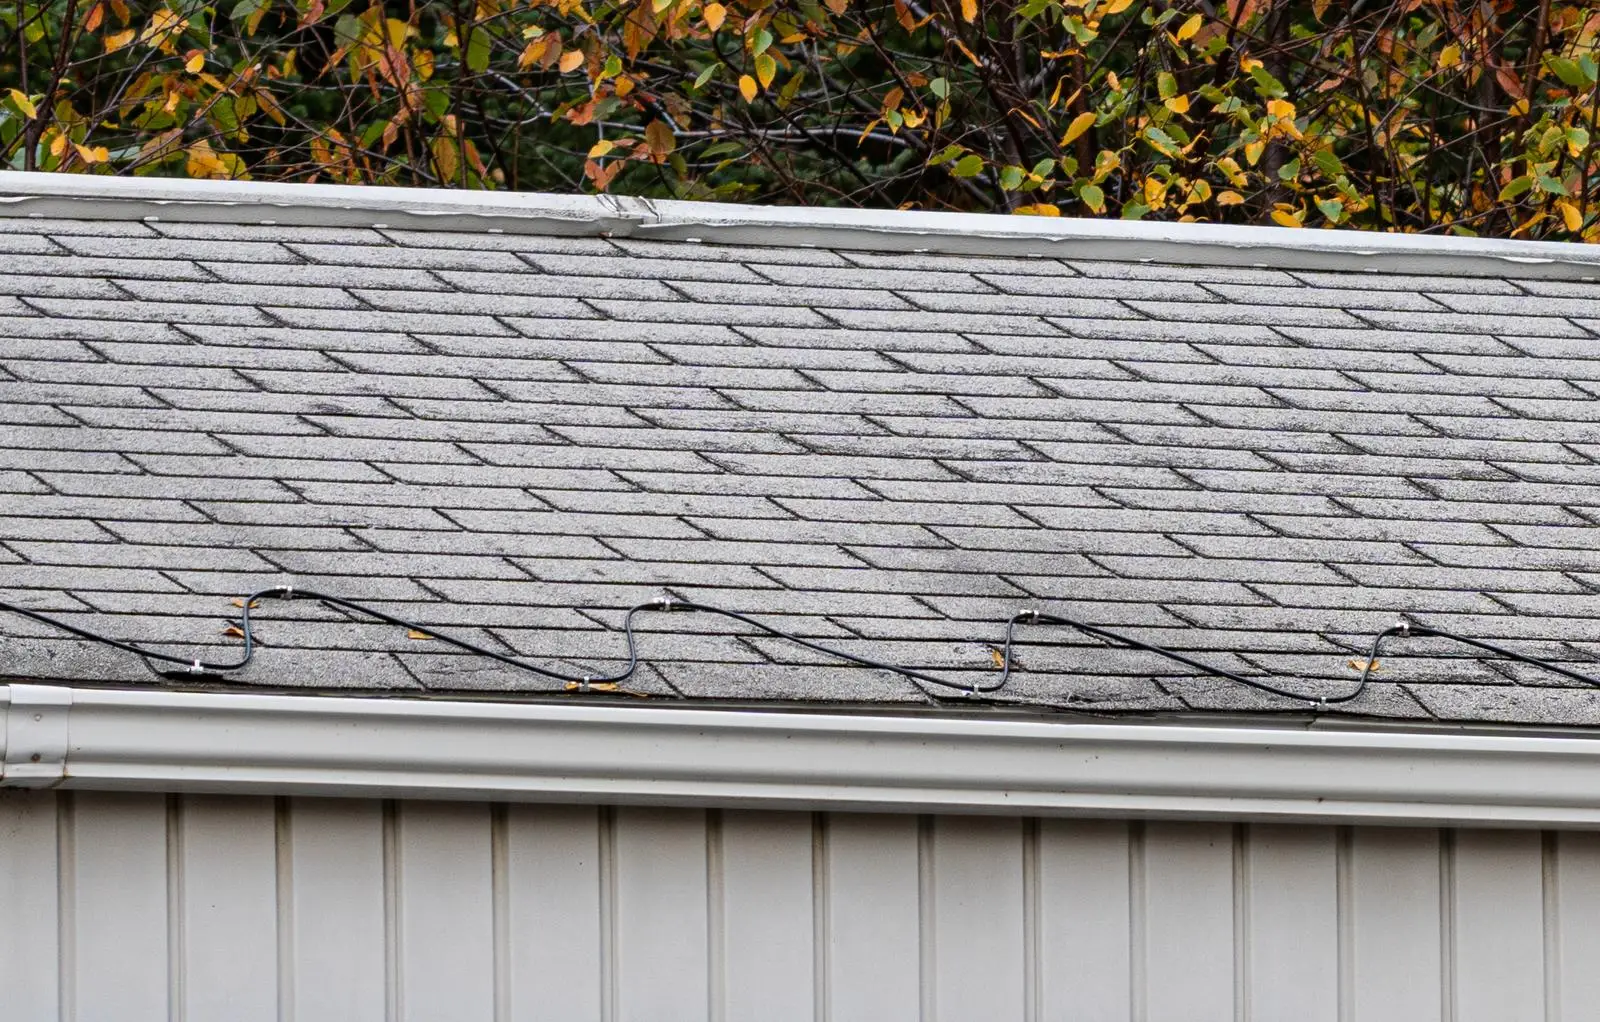
Every winter in snowy towns you can see two kinds of houses: the ones with a thick lip of ice and a row of icicles along the gutters, and the ones with a thin black wire zigzagging along the eaves. Roof heat cable is cheap to buy and easy to plug in, so it gets sold as the answer to ice dams. It can help at a trouble spot, but it is also an electric heater that sits outside in the snow, and left on all winter it can quietly add a few hundred dollars to your bill.
Here is what roof and gutter cable actually costs to run, how to use it so it only runs when it is doing something, and the attic work that keeps ice dams from forming in the first place.
The short version
- Most plug-in roof cable is about 5 watts per foot. A 100-foot run costs about $2 a day at $0.17/kWh.
- How long you leave it on matters more than anything else. Storm-only use can cost a sixth of what an all-winter cable does.
- You need roughly 4 to 7 feet of cable for every foot of roof edge you protect, so long eaves get expensive fast.
- Cable melts drainage channels. It does not fix the warm attic that causes ice dams. Air sealing and insulation do, and they lower your heating bill too.
- Use a GFCI outlet, keep the cable out of the bottom of the gutter, and never overlap constant-wattage cable.
What roof heat cable costs to run
Find your real electric rate by dividing your bill’s total charge by the kWh used. We use $0.17/kWh as an illustrative US average, with $0.12 and $0.25 for cheaper and pricier areas.
Cost for one full day (24 hours) with the cable on:
| Cable | Draw | $0.12/kWh | $0.17/kWh | $0.25/kWh |
|---|---|---|---|---|
| 30 ft constant, 5 W/ft | 150 W | $0.43 | $0.61 | $0.90 |
| 60 ft constant, 5 W/ft | 300 W | $0.86 | $1.22 | $1.80 |
| 100 ft constant, 5 W/ft | 500 W | $1.44 | $2.04 | $3.00 |
| 200 ft constant, 5 W/ft | 1,000 W | $2.88 | $4.08 | $6.00 |
| 36 ft self-regulating, 8 W/ft at 50°F | about 290 W | $0.83 | $1.18 | $1.73 |
| 75 ft self-regulating, 8 W/ft at 50°F | about 600 W | $1.73 | $2.45 | $3.60 |
Constant-wattage cable draws its full rating whenever it has power. Self-regulating cable is rated at a reference temperature, and it puts out more heat as it gets colder and wetter, so treat those rows as a floor rather than a ceiling.
There is one more number worth knowing. Because the cable runs in triangles up onto the roof and back down to the gutter, Frost King’s sizing table calls for 4 to 6.8 feet of cable for every foot of roof edge, depending on how deep the overhang is, plus the downspouts. At 5 watts per foot, every foot of eave you protect costs roughly 20 to 34 watts. A 40-foot eave with a 2-foot overhang needs about 212 feet of cable, which is over 1,000 watts.
How you run it matters more than the cable
The same 100-foot, 500-watt cable over a 120-day winter (December through March):
| How it runs | Hours on | kWh | $0.12/kWh | $0.17/kWh | $0.25/kWh |
|---|---|---|---|---|---|
| On only for snow events, about 20 days | 480 | 240 | $28.80 | $40.80 | $60.00 |
| On a 35°F plug-in thermostat, cold climate, on about 75% of the time | 2,160 | 1,080 | $129.60 | $183.60 | $270.00 |
| Plugged in all winter | 2,880 | 1,440 | $172.80 | $244.80 | $360.00 |
These are worked examples with round numbers. A thermostat that only senses air temperature can’t tell a dry 20°F week from a snowy one, so in a cold place it ends up running most of the winter. Frost King’s own instructions recommend a control that senses both temperature and moisture, so the cable only runs when there is snow or ice to melt, and they say not to run the cable above 50°F. Sensing controls cost more and are usually wired in by an electrician. For a plug-in kit, the cheap and effective control is you: switch it on when snow is coming and off when the edge of the roof and the gutters are clear.
Why ice dams happen
University of Minnesota Extension describes the recipe plainly. You need snow on the roof, a roof surface that is above freezing higher up and below freezing at the edge, and cold weather outside. Snow melts on the warm part of the roof, the water runs down to the cold overhang, and it freezes there. The ridge of ice grows, water pools behind it, and eventually it finds its way under the shingles and into the attic, walls or ceiling.
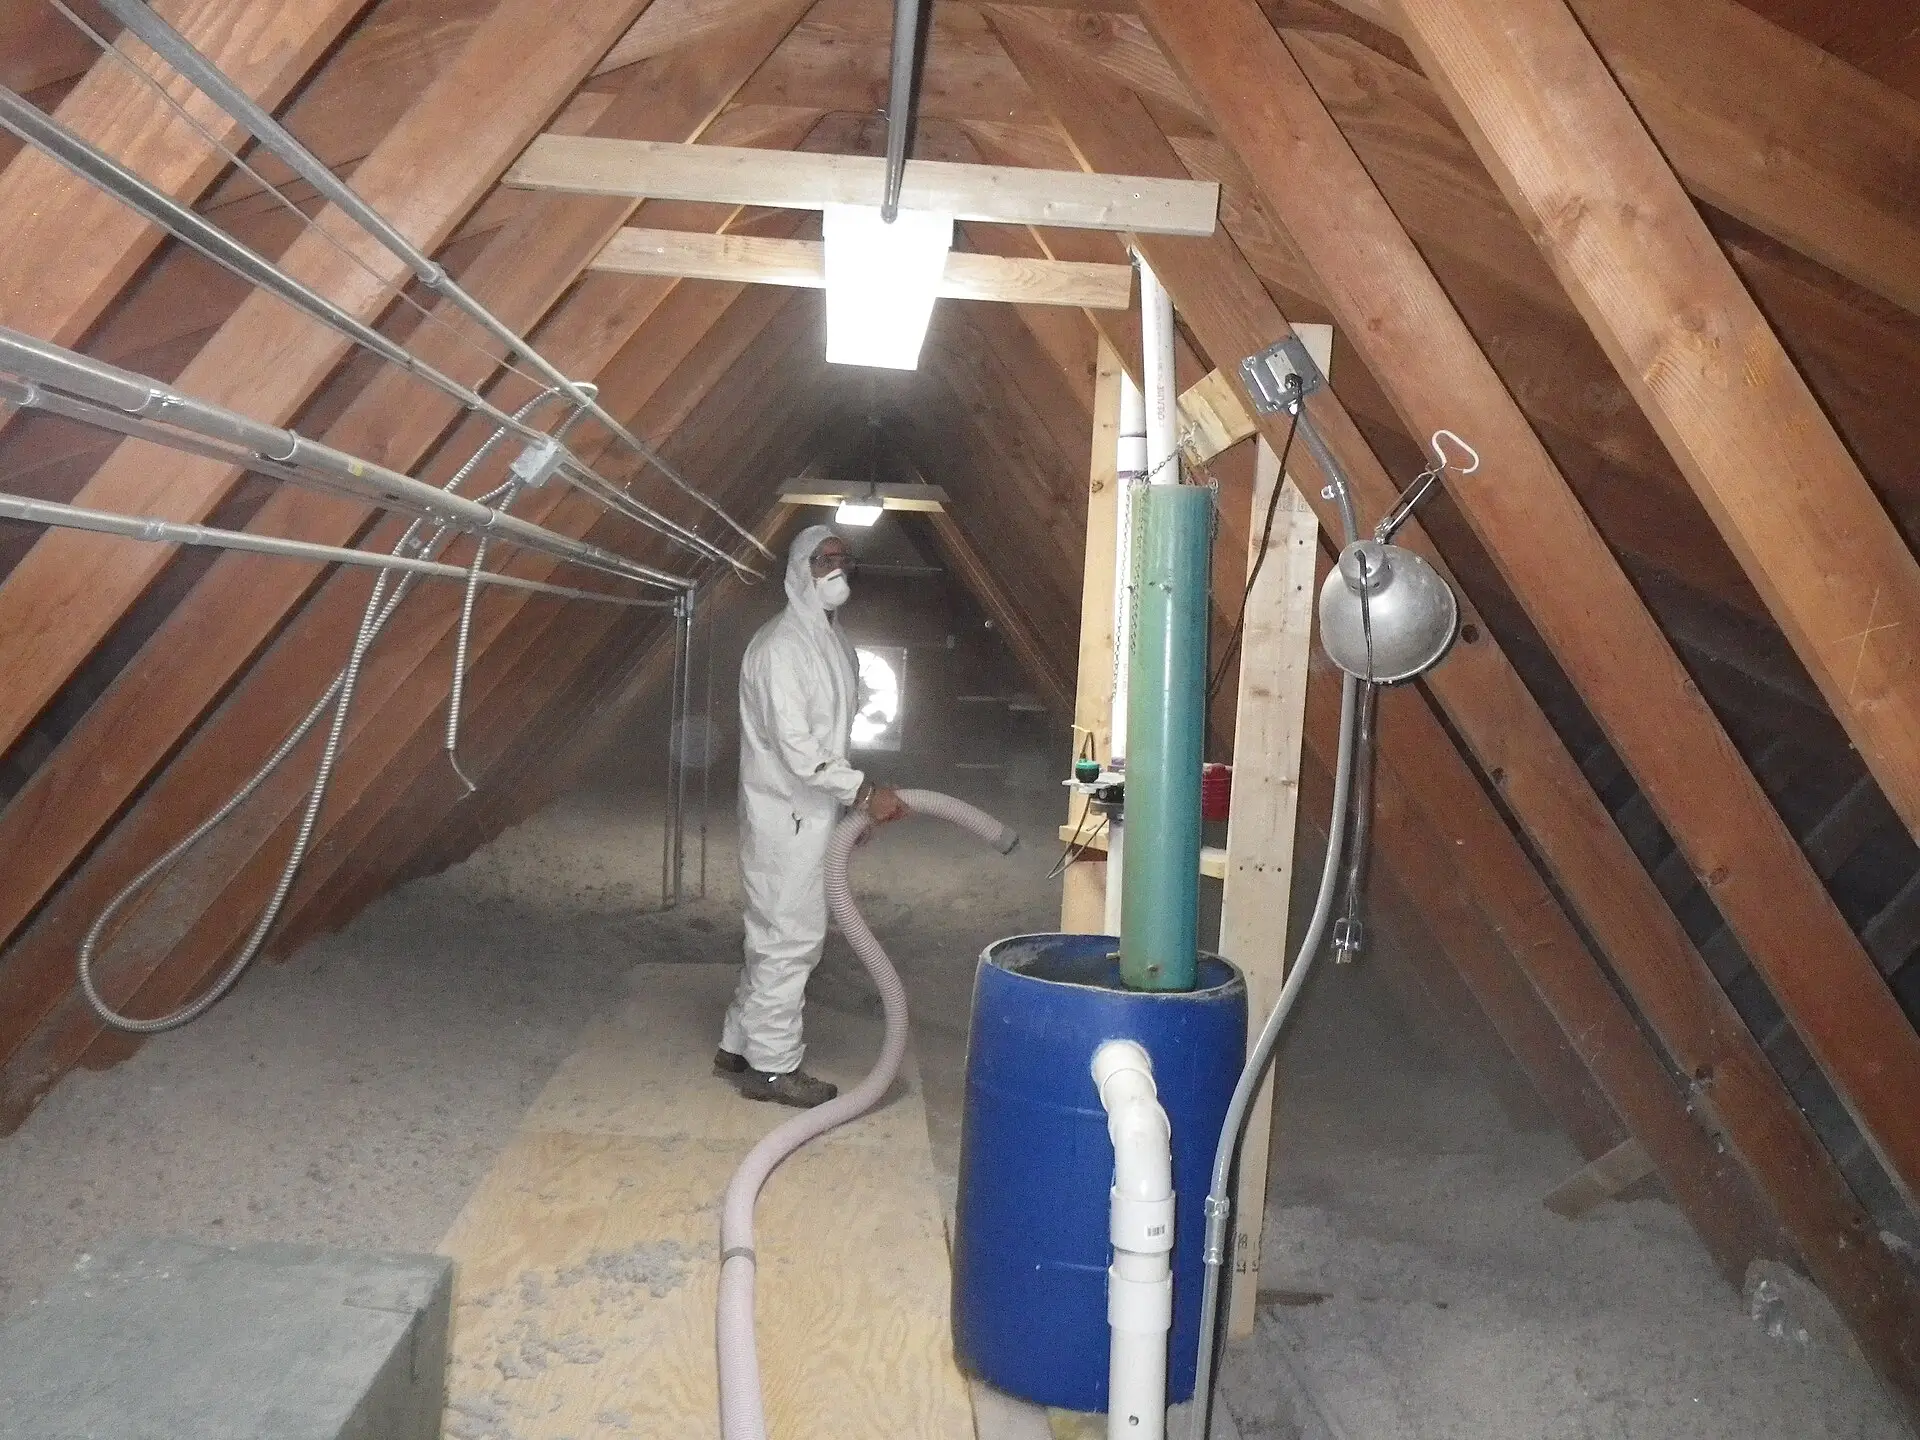
The warm part of the roof is almost always warmed by the house. Extension names air leaking into the attic as the biggest cause in many homes, through gaps around ceiling lights, bath fans, plumbing stacks, chimneys and the attic hatch. Thin insulation where the roof meets the walls, ductwork in the attic and exhaust fans that end just above the roof add to it. Recessed lights, skylights and complicated rooflines make ice dams more likely.
That’s why heat cable is a stopgap. It keeps a path open so meltwater can drain, but the snow above it keeps melting for the same reason it did before, and you are now paying to heat both the attic and the gutter.
When heat cable makes sense
Cable is worth it in a few situations:
- A known trouble spot, like a valley, a low-slope porch roof under a steeper one, or a north-facing eave that dams every year.
- Gutters and downspouts that freeze solid and overflow, even when the roof itself is fine.
- Cathedral ceilings and other roof shapes where air sealing and insulating from the inside is hard or expensive.
- A rental, or a house you are fixing up, where you need to stop leaks this winter and do the attic work later.
If you are thinking about covering every eave on the house, that is usually a sign the attic needs attention instead.
What to do first
- Look at the roof the morning after a light snow. Bare patches and melted stripes between the rafters show where heat is escaping. An even blanket of snow means the attic is doing its job.
- Check the attic floor for the big leaks: the hatch, recessed lights, the bath fan housing, gaps around the chimney and plumbing vents, and open chases. Our guides to air sealing with caulk and foam, recessed light covers and attic hatch covers cover the common ones.
- Then look at insulation depth, especially out at the eaves where it is often thinnest. Our attic insulation guide explains when it is a DIY job and when to call a pro.
- Make sure bath and kitchen fans vent outdoors, not into the attic.
- If you still have a trouble spot, add cable to just that spot, and put it on a switch you will actually use.
What not to do
- Don’t chip at ice dams with a hammer, ice pick or shovel. You will damage the shingles and gutters faster than the ice will.
- Don’t throw rock salt or other chemicals on the roof. Minnesota’s Commerce Department warns that chippers, chemicals and heat can damage shingles, gutters and other parts of the house.
- Don’t climb onto a snowy or icy roof. Work from the ground, or hire someone with the right gear.
- Don’t add powered attic vents to fix ice dams. Both Extension and the Commerce Department say they don’t solve the problem and can make it worse.
- Don’t let constant-wattage cable touch, cross or overlap itself, and don’t lay it in the bottom of the gutter. Frost King requires at least 2 inches between the drip loop and the gutter bottom.
- Don’t use pipe heat tape on a roof or roof cable on water pipes. They are different products with different listings. For pipes, see our pipe heat tape guide.
- Don’t leave the cable plugged in all spring and summer.
Which one should you buy?
If you have an asphalt shingle roof and a straightforward eave and gutter, a constant-wattage kit like Frost King’s RC series is the simple, inexpensive choice. Buy enough length for the zigzag, not just the length of the gutter.
If you have a metal roof, a valley, or a run where the cable might touch itself, a self-regulating cable is more forgiving. Check that the listing names your roof type.
If you need a long run along a big eave, a 200-foot constant kit costs less per foot, but it draws 1,000 watts and should be on a switch.
If you know you will forget to turn it on and off, add a plug-in thermostat. If you’d rather only run it for snow, an outdoor smart plug is the cheaper way to run it.
And if you mostly have snow piling up above the gutters, a roof rake may do more good than any cable.
Our picks
These are good starting points. Read the instructions for clip spacing, layout and approved roof types before you buy, and plug every roof cable into a GFCI-protected outdoor outlet.
Best kit for shingle roofsFrost King RC60
A 60-foot, 120-volt, 300-watt pre-assembled kit with shingle clips and spacers. Frost King rates its roof kits at 5 watts per foot and sells them from 30 to 200 feet. They are made for inclined roofs with tab shingles and metal or plastic gutters, not metal roofs. With a 12-inch overhang, 60 feet covers only about 15 feet of eave, less with a deeper overhang or a downspout, so most homes need a longer kit or two.
- Frost King RC60 60-foot roof and gutter de-icing cable Check price on Amazon
- Frost King RC60 with 099000 roof cable thermostat (bundle) Check price on Amazon
Best self-regulating cableHEATIT 8JHSF1
Self-regulating cable rated 8 watts per foot at 50°F, with clips, spacers and a lighted plug on a 10-foot power cord. The listing names metal, asphalt, slate, rubber and other roof types, and the cable adjusts its output with temperature, which makes it a better fit for valleys and tricky spots. It runs hotter per foot than Frost King’s cable, so expect higher running costs per foot. The 36-foot length suits a single valley or a short gutter. The 75-foot length covers a longer eave.
- HEATIT 8JHSF1 self-regulating roof cable, 36 feet Check price on Amazon
- HEATIT 8JHSF1 self-regulating roof cable, 75 feet Check price on Amazon
- HEATIT 8JHSF1 for a gutter or downspout, 12 feet Check price on Amazon
For long eavesHEATIT HIRD 200-foot cable
A 200-foot constant-wattage cable at 5 watts per foot, so 1,000 watts when it is on, with a 6-foot cold lead and plug, clips and spacers. It’s for inclined roofs with noncombustible shingles and metal or plastic gutters. At $0.17/kWh it costs about $4 a day, so put it on a switch or controller and only run it when you need it.
- HEATIT HIRD 200-foot roof and gutter de-icing cable Check price on Amazon
Best on/off switchKasa EP40 outdoor smart plug
Two separately controlled outlets in a weather-resistant IP64 housing, rated 15 amps and 1,875 watts. It has to plug into a GFCI outlet outdoors, and Kasa lists an operating range down to -4°F. Turn the cable on from your phone when snow is in the forecast and off when the roof edge is clear, or set a countdown so it shuts off on its own.
- Kasa EP40 outdoor smart plug Check price on Amazon
If you’d rather not think about ita plug-in thermostat
The Thermo Cube TC-3 turns power on as the air drops to about 35°F and off as it rises above about 45°F, with two outlets and a 15-amp, 120-volt rating. Frost King’s 099000 thermostat is made for its own roof cable kits. Either one keeps the cable off on mild days and stops it from running all summer, but neither can tell whether there is snow, so in a cold climate they will still run a lot.
- Farm Innovators Thermo Cube TC-3 (on at 35°F, off at 45°F) Check price on Amazon
- Frost King 099000 roof cable thermostat Check price on Amazon
Often better than cablea roof rake
No snow, no ice dam. The Snow Joe RJ204M has a 6 by 25-inch plastic blade on a pole that telescopes to 21 feet, and it weighs about 5 pounds. Pull snow off the bottom 3 or 4 feet of the roof after each storm, standing on the ground, and leave a thin layer so you don’t scrape the shingles. Watch for power lines.
- Snow Joe RJ204M 21-foot telescoping roof rake Check price on Amazon
Four example homes
These are worked examples with round numbers, not measurements. Your climate, roof and habits will change the results.
The ranch with one bad valley. A single valley over the front porch dams every winter. A 36-foot self-regulating cable, drawing about 350 watts in cold, wet weather, goes on a smart plug and runs for about 15 days over the season. That’s around 126 kWh, roughly $21 at $0.17/kWh.
The north-side gutter. The roof is fine, but one shaded gutter and downspout freeze solid and overflow. A 60-foot, 300-watt Frost King kit runs about 25 days a winter, switched on for storms and off once the gutter flows. That’s 180 kWh, about $31 at $0.17/kWh and $22 at $0.12.
The cold-climate story-and-a-half. Knee walls and a half-insulated slope keep the upper roof warm, and ice dams form along a long eave. 200 feet of 5-watt cable, 1,000 watts in all, sits on a 35°F plug-in thermostat from December through March and runs about 2,200 hours. That’s 2,200 kWh, roughly $374 at $0.17/kWh. This is the house where attic work pays.
The cable nobody unplugged. A 100-foot, 500-watt cable gets plugged in at Thanksgiving and unplugged in mid-April, about 140 days. That’s 1,680 kWh, about $286 at $0.17/kWh and $420 at $0.25. An outdoor smart plug and a few taps around each storm would have cut that to well under $60.
Installing it so it works
- Measure the eave, overhang depth, downspouts and valleys first, and buy for the zigzag, not the straight-line length. Roof cable can’t be cut to fit.
- Test the cable before it goes on the roof. HEATIT, for example, says to uncoil it fully so it doesn’t touch itself, plug it in, and check that it feels slightly warm after about 5 minutes, then unplug it.
- Follow the layout in the instructions. Frost King’s kits use triangles with a 15-inch base that run from the gutter up past the overhang onto the part of the roof above the heated house, held with the supplied clips.
- Run a loop down the inside of the downspout so meltwater has a path all the way to the ground. A cable that stops at the gutter just moves the ice dam to the downspout.
- Keep the drip loop at least 2 inches above the gutter bottom on Frost King kits, and never let constant-wattage cable touch or cross.
- Plug into a GFCI-protected outdoor outlet. Frost King calls for a circuit no larger than 20 amps and recommends against extension cords, so plan the starting point near an outlet. Keep the plug connection out of standing water.
- Check the cable each fall for cracks, crushed spots or clips that have pulled loose, and replace damaged cable rather than taping it.
Troubleshooting
| Symptom | Likely cause | Fix |
|---|---|---|
| Ice dam forms right above the cable | Cable doesn’t reach high enough onto the roof above the heated house | Extend the triangles up past the overhang as the instructions show |
| Gutter is clear but the downspout is frozen | No cable in the downspout | Run a loop down the inside of the downspout to the bottom |
| Cable is on but nothing melts in very cold weather | Too little heat for the conditions, or snow piled deep over the cable | Rake the snow off first, then let the cable keep the channel open |
| GFCI keeps tripping | Damaged cable, wet plug connection, or a shared circuit | Inspect for cuts, keep the connection dry, move to its own GFCI outlet |
| Cable runs on dry, cold days | Temperature-only thermostat | Switch to storm-only control with a smart plug |
| Electric bill jumped in winter | Cable left on for weeks | Check the hours with your utility’s usage data and only run it for snow events |
| Leaks continue even with cable | Water backing up away from the cabled area, or a valley or skylight not covered | Find where water enters in the attic, and fix air leaks and insulation above that spot |
Is fixing the attic cheaper?
Heat cable never pays for itself in energy terms. It adds to your bill every winter you use it. The attic fix works the other way: air sealing and insulation cut the heat that melts the snow and also cut your heating bill, every day of the winter, whether it snows or not.
Take the story-and-a-half above. If an air sealing and insulation job costs $3,000 and lets that household stop running $374 a year of cable, it pays back in about eight years on the cable savings alone. The lower heating bill shortens that. Quotes vary a lot by house and region, so get a home energy assessment with a blower door test first. Many utilities offer them at a discount, and they show exactly where the attic leaks.
Bottom line
Roof heat cable is a reasonable tool for one stubborn valley, a shaded gutter or a downspout that freezes shut. Run it only when snow is on the roof, put it on a switch you will remember to use, and plug it into a GFCI outlet. If you find yourself wanting cable along every eave, the money is better spent in the attic. Seal the attic floor first, then add insulation, or work through the priority checklist for the rest of the house.
Some links on this page go to Amazon, and we earn a commission if you buy, at no extra cost to you. Prices and savings vary by home and utility rate. More in our disclosure.